
Apr 7, 2025

🧠 Why Does Stanley Need Access to Your Digital Assets on Facebook and Instagram?
In order for Stanley to efficiently manage your marketing activities on Facebook and Instagram, you must grant access to your social media accounts. This access will allow Stanley to execute the best possible marketing strategy for you – including both paid and organic campaigns. In this article, we explain what each asset is, why it’s important, how to create one, and how access to it enables us to run campaigns that deliver results.
1️⃣ Facebook Page
✅ What is it?
A public page that represents your business on Facebook.
🔑 Why does Stanley need access?
To publish organic posts on your behalf, respond to customers, and analyze your page’s performance.
2️⃣ Ad Account
✅ What is it?
The account through which paid campaigns are managed on Facebook and Instagram.
🔑 Why does Stanley need access?
So that we can build, launch, and optimize your campaigns.
3️⃣ Ads Manager
✅ What is it?
The central system for managing, analyzing, and having complete control over campaigns.
🔑 Why does Stanley need access?
To run your campaigns efficiently and professionally.
4️⃣ Meta Business Manager (Business Manager Account)
✅ What is it?
A centralized management system that consolidates all your assets (Pages, Ads, Instagram accounts, Pixels, and more).
🔑 Why does Stanley need access?
To manage all your assets securely and in one place.
⚙️ So, What’s the Next Step?
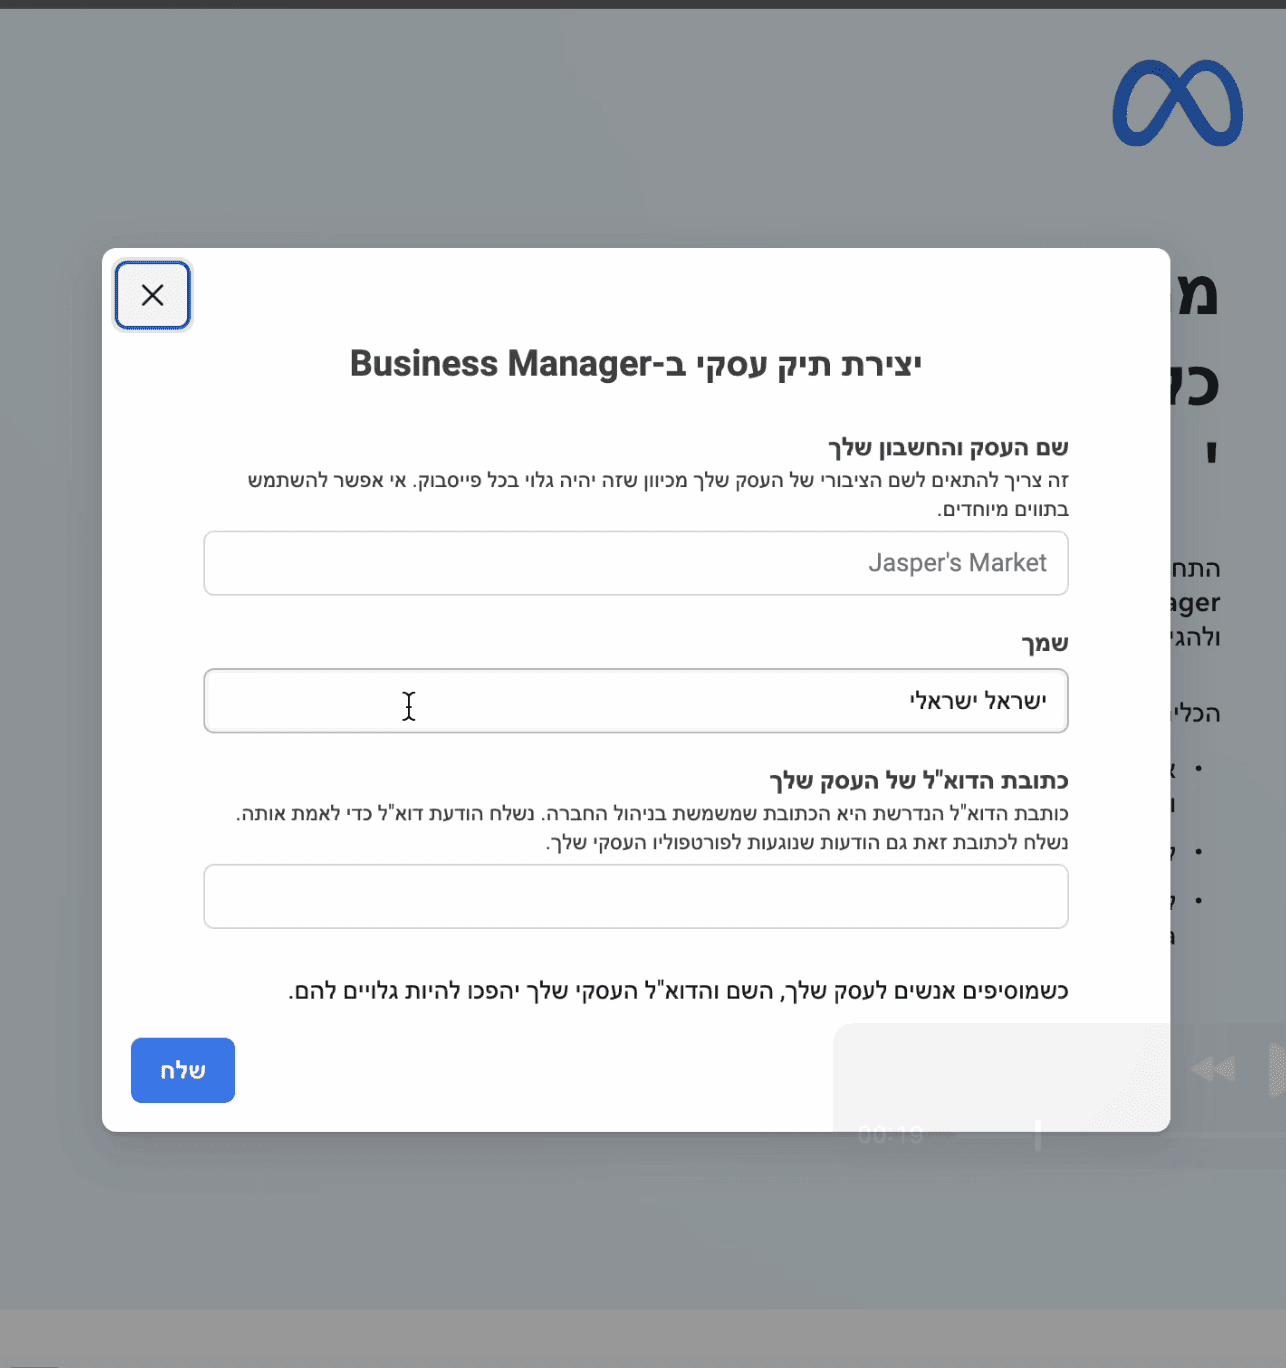
Step 1: Set Up a Business Manager Account
Log in with your personal Facebook account.
Click "Create Account."
Enter your business name, your full name, and your email address.
Confirm, and your new Business Manager account will be created.
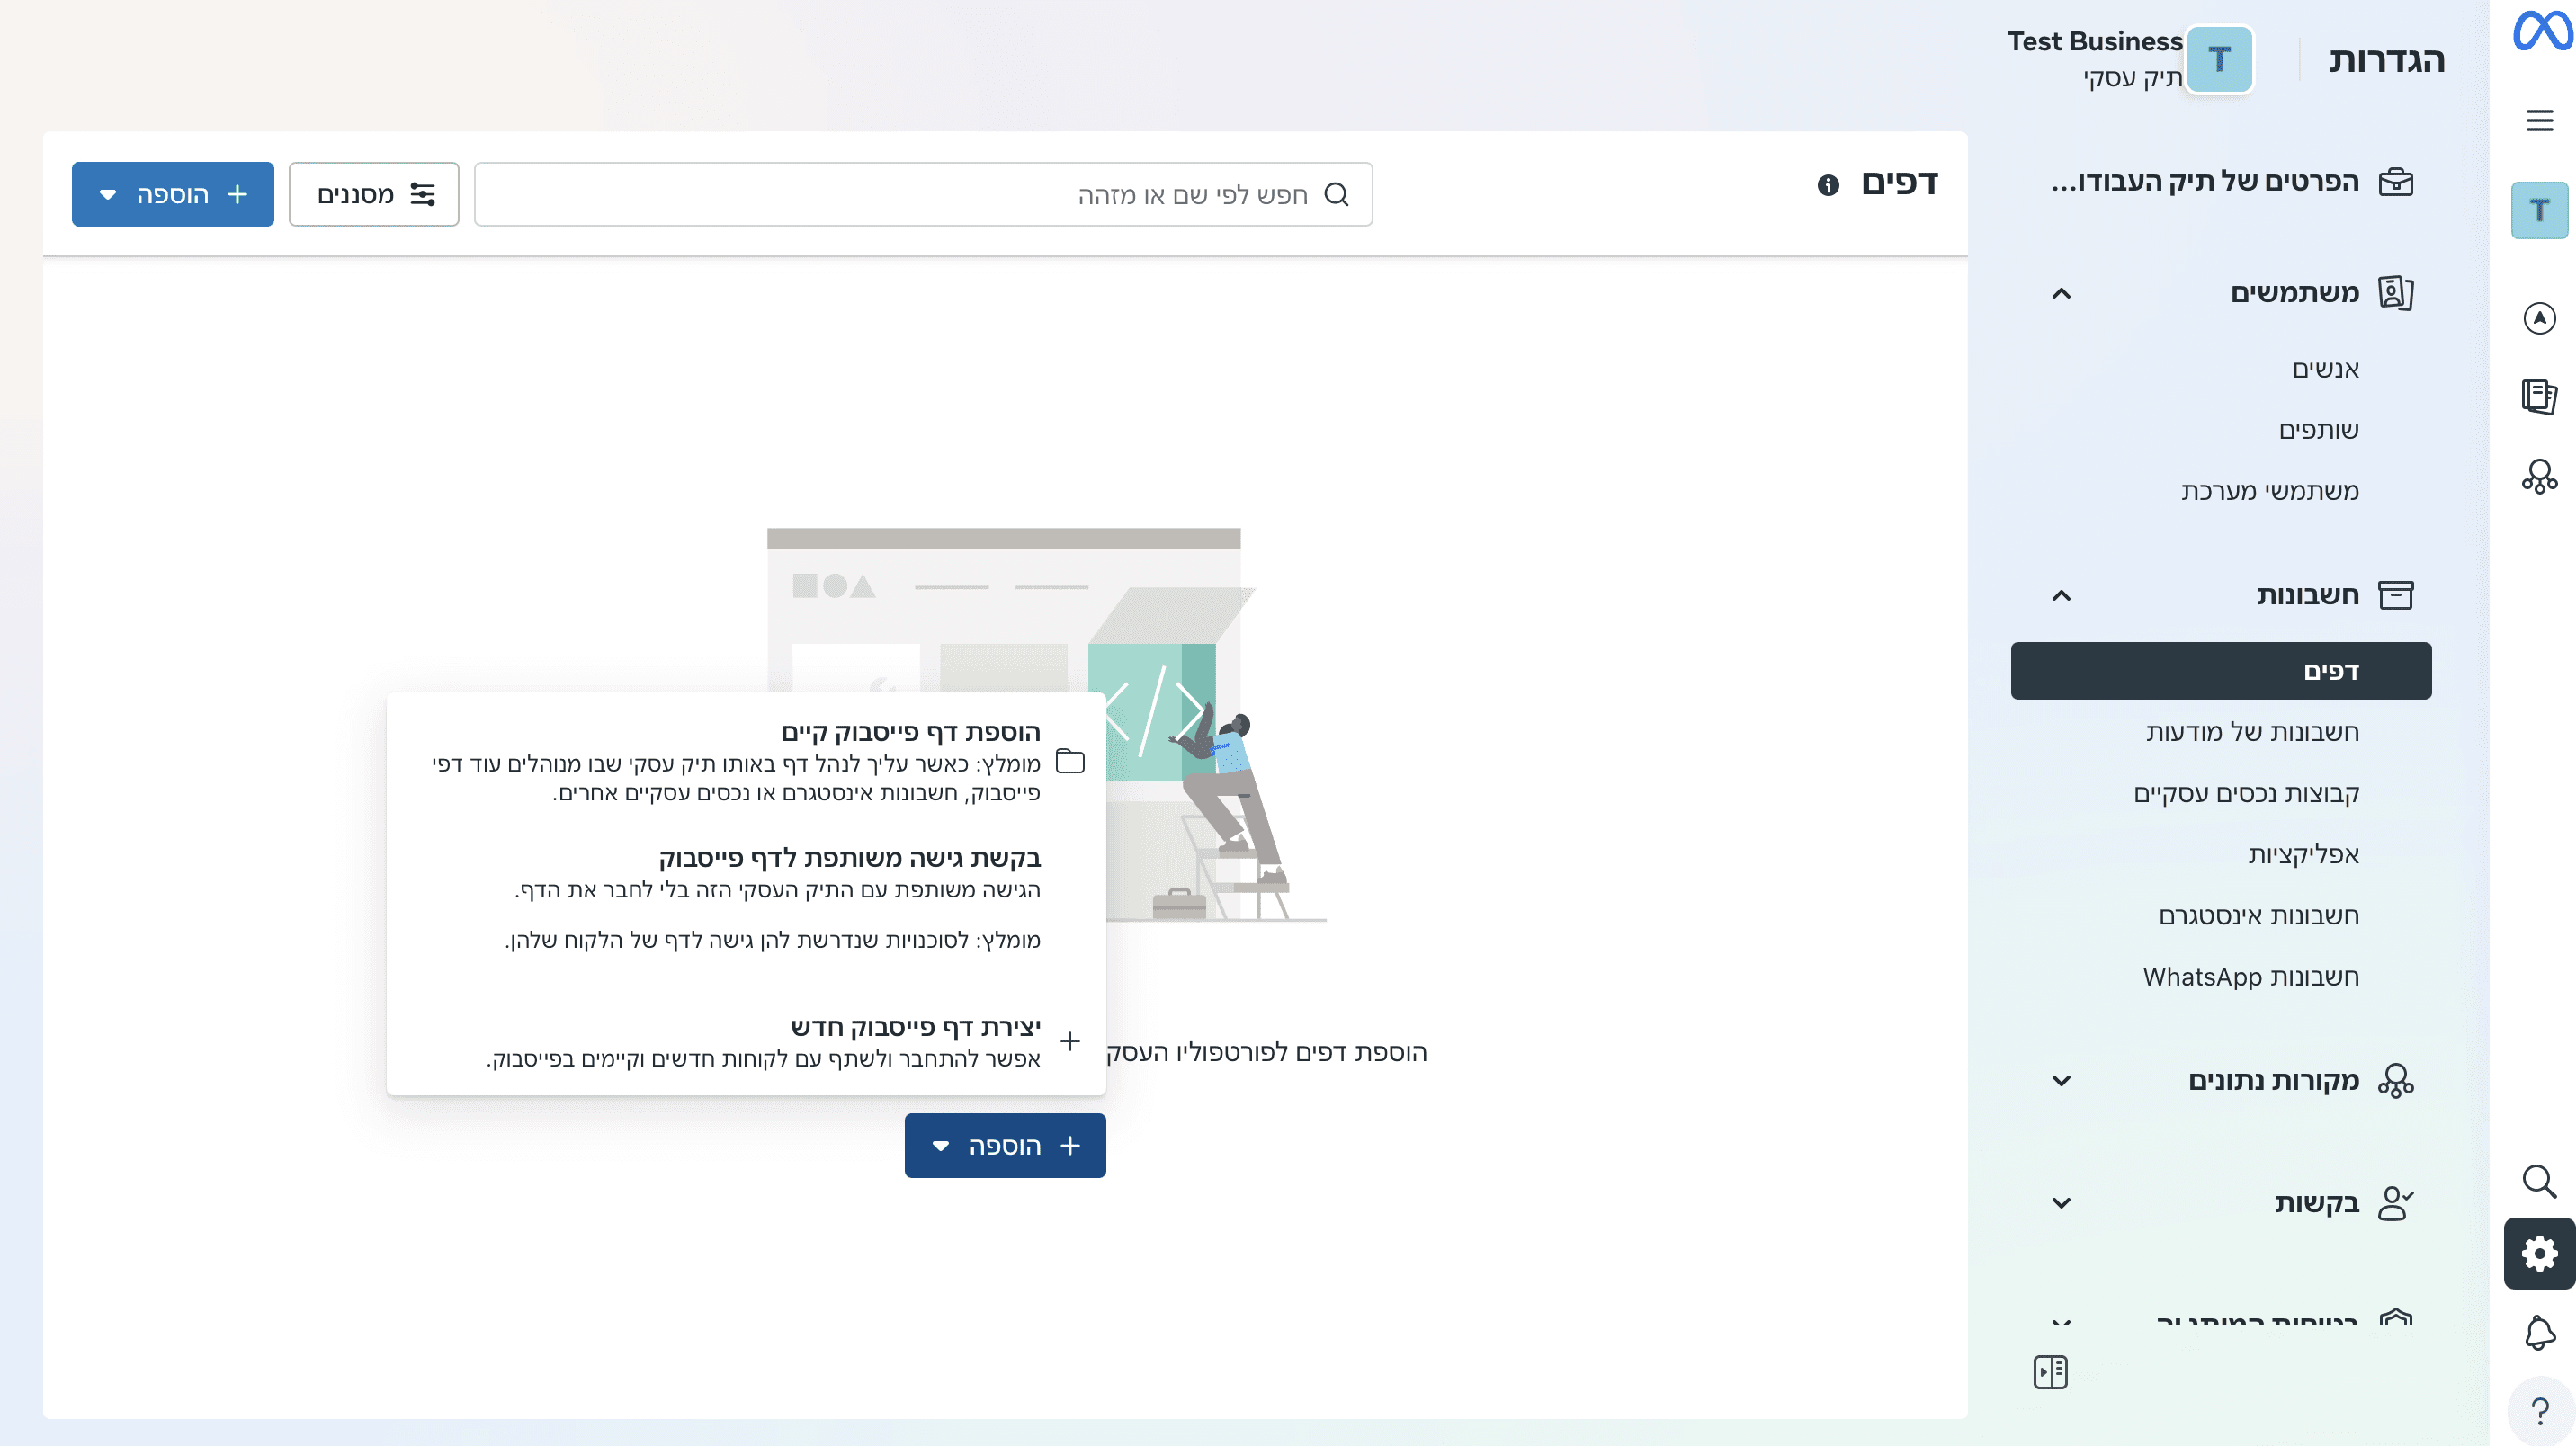
Step 2: Create a Facebook Page
From the Meta Business Suite, go to Business Settings.
In the right-hand menu, select "Pages" > "Add" > "Create a New Page."
Choose a category (e.g., Restaurant, Clothing Store).
Enter a name for your page, a short description, and any additional details.
Click "Create."
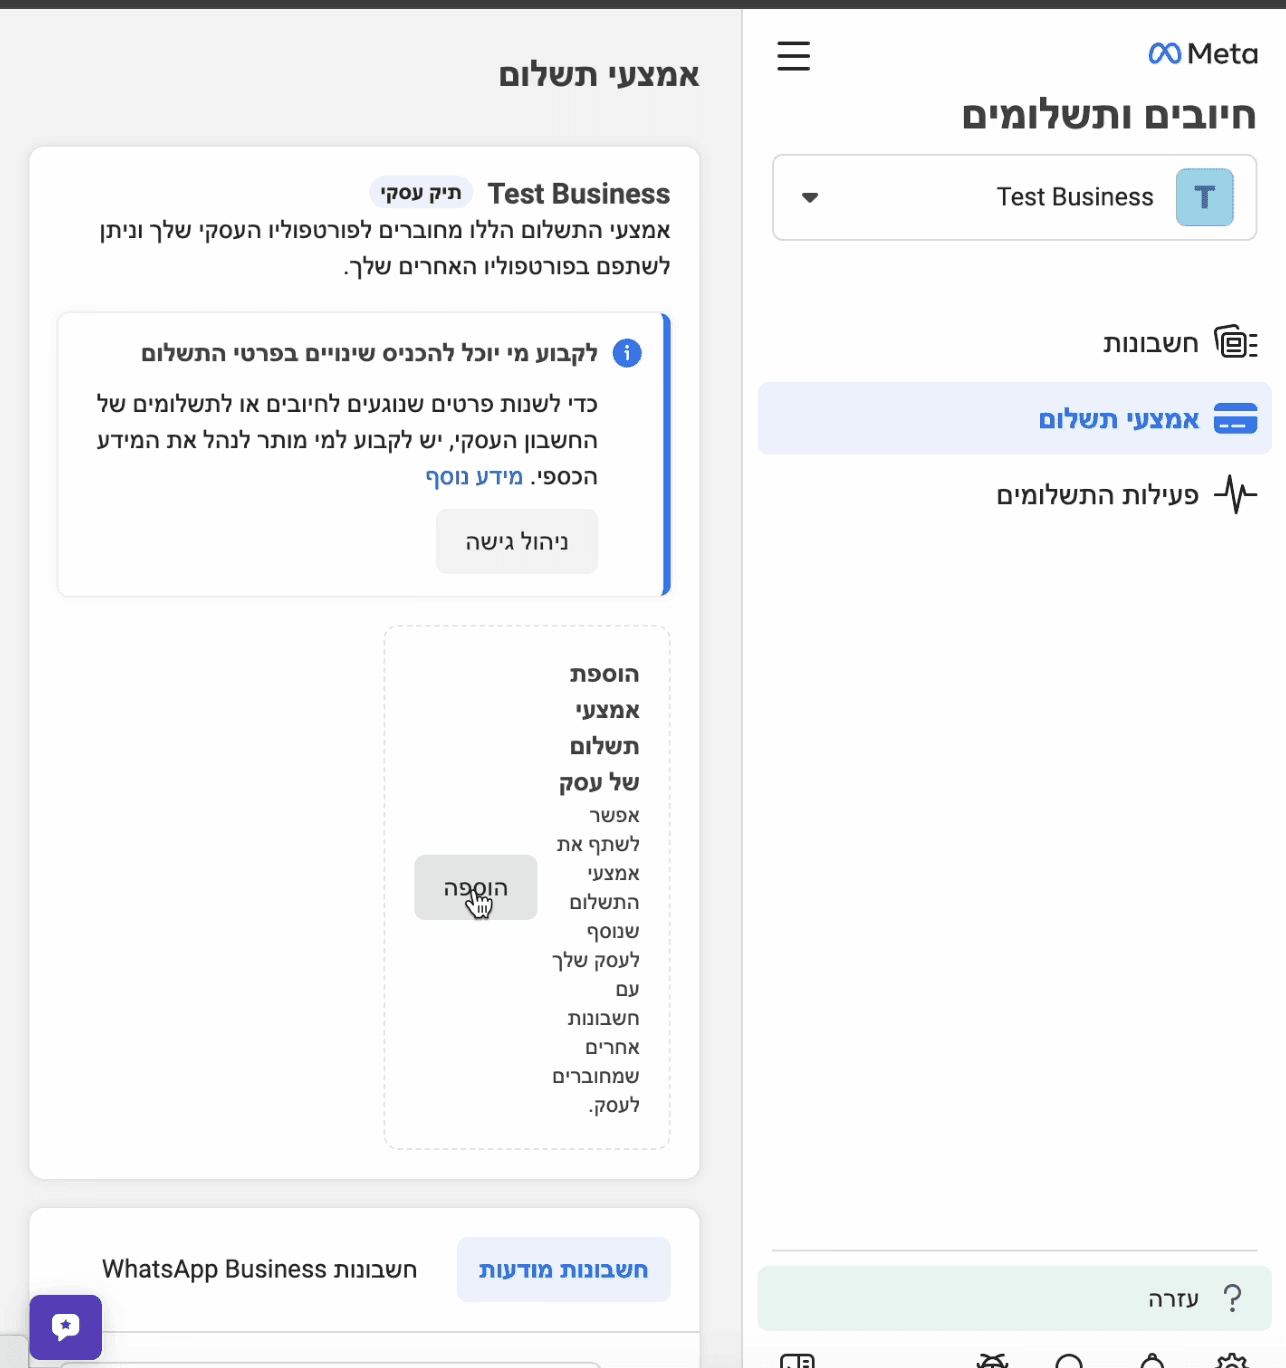
Step 3: Adding a Payment Method in Meta
In Business Suite or Ads Manager, select "Billing" / "Additional Billing".
Click on "Payment Settings" or "Payment Methods".
Click on "Add Payment Method", enter the details, and confirm.

Step 4: Set Up an Ad Account
Navigate to Business Settings > Accounts > Ad Accounts.
Click "Add" > "Create New Account."
Give the account a name, choose a time zone, and select a currency.
Indicate that this account will be used for your business.
Click "Create."

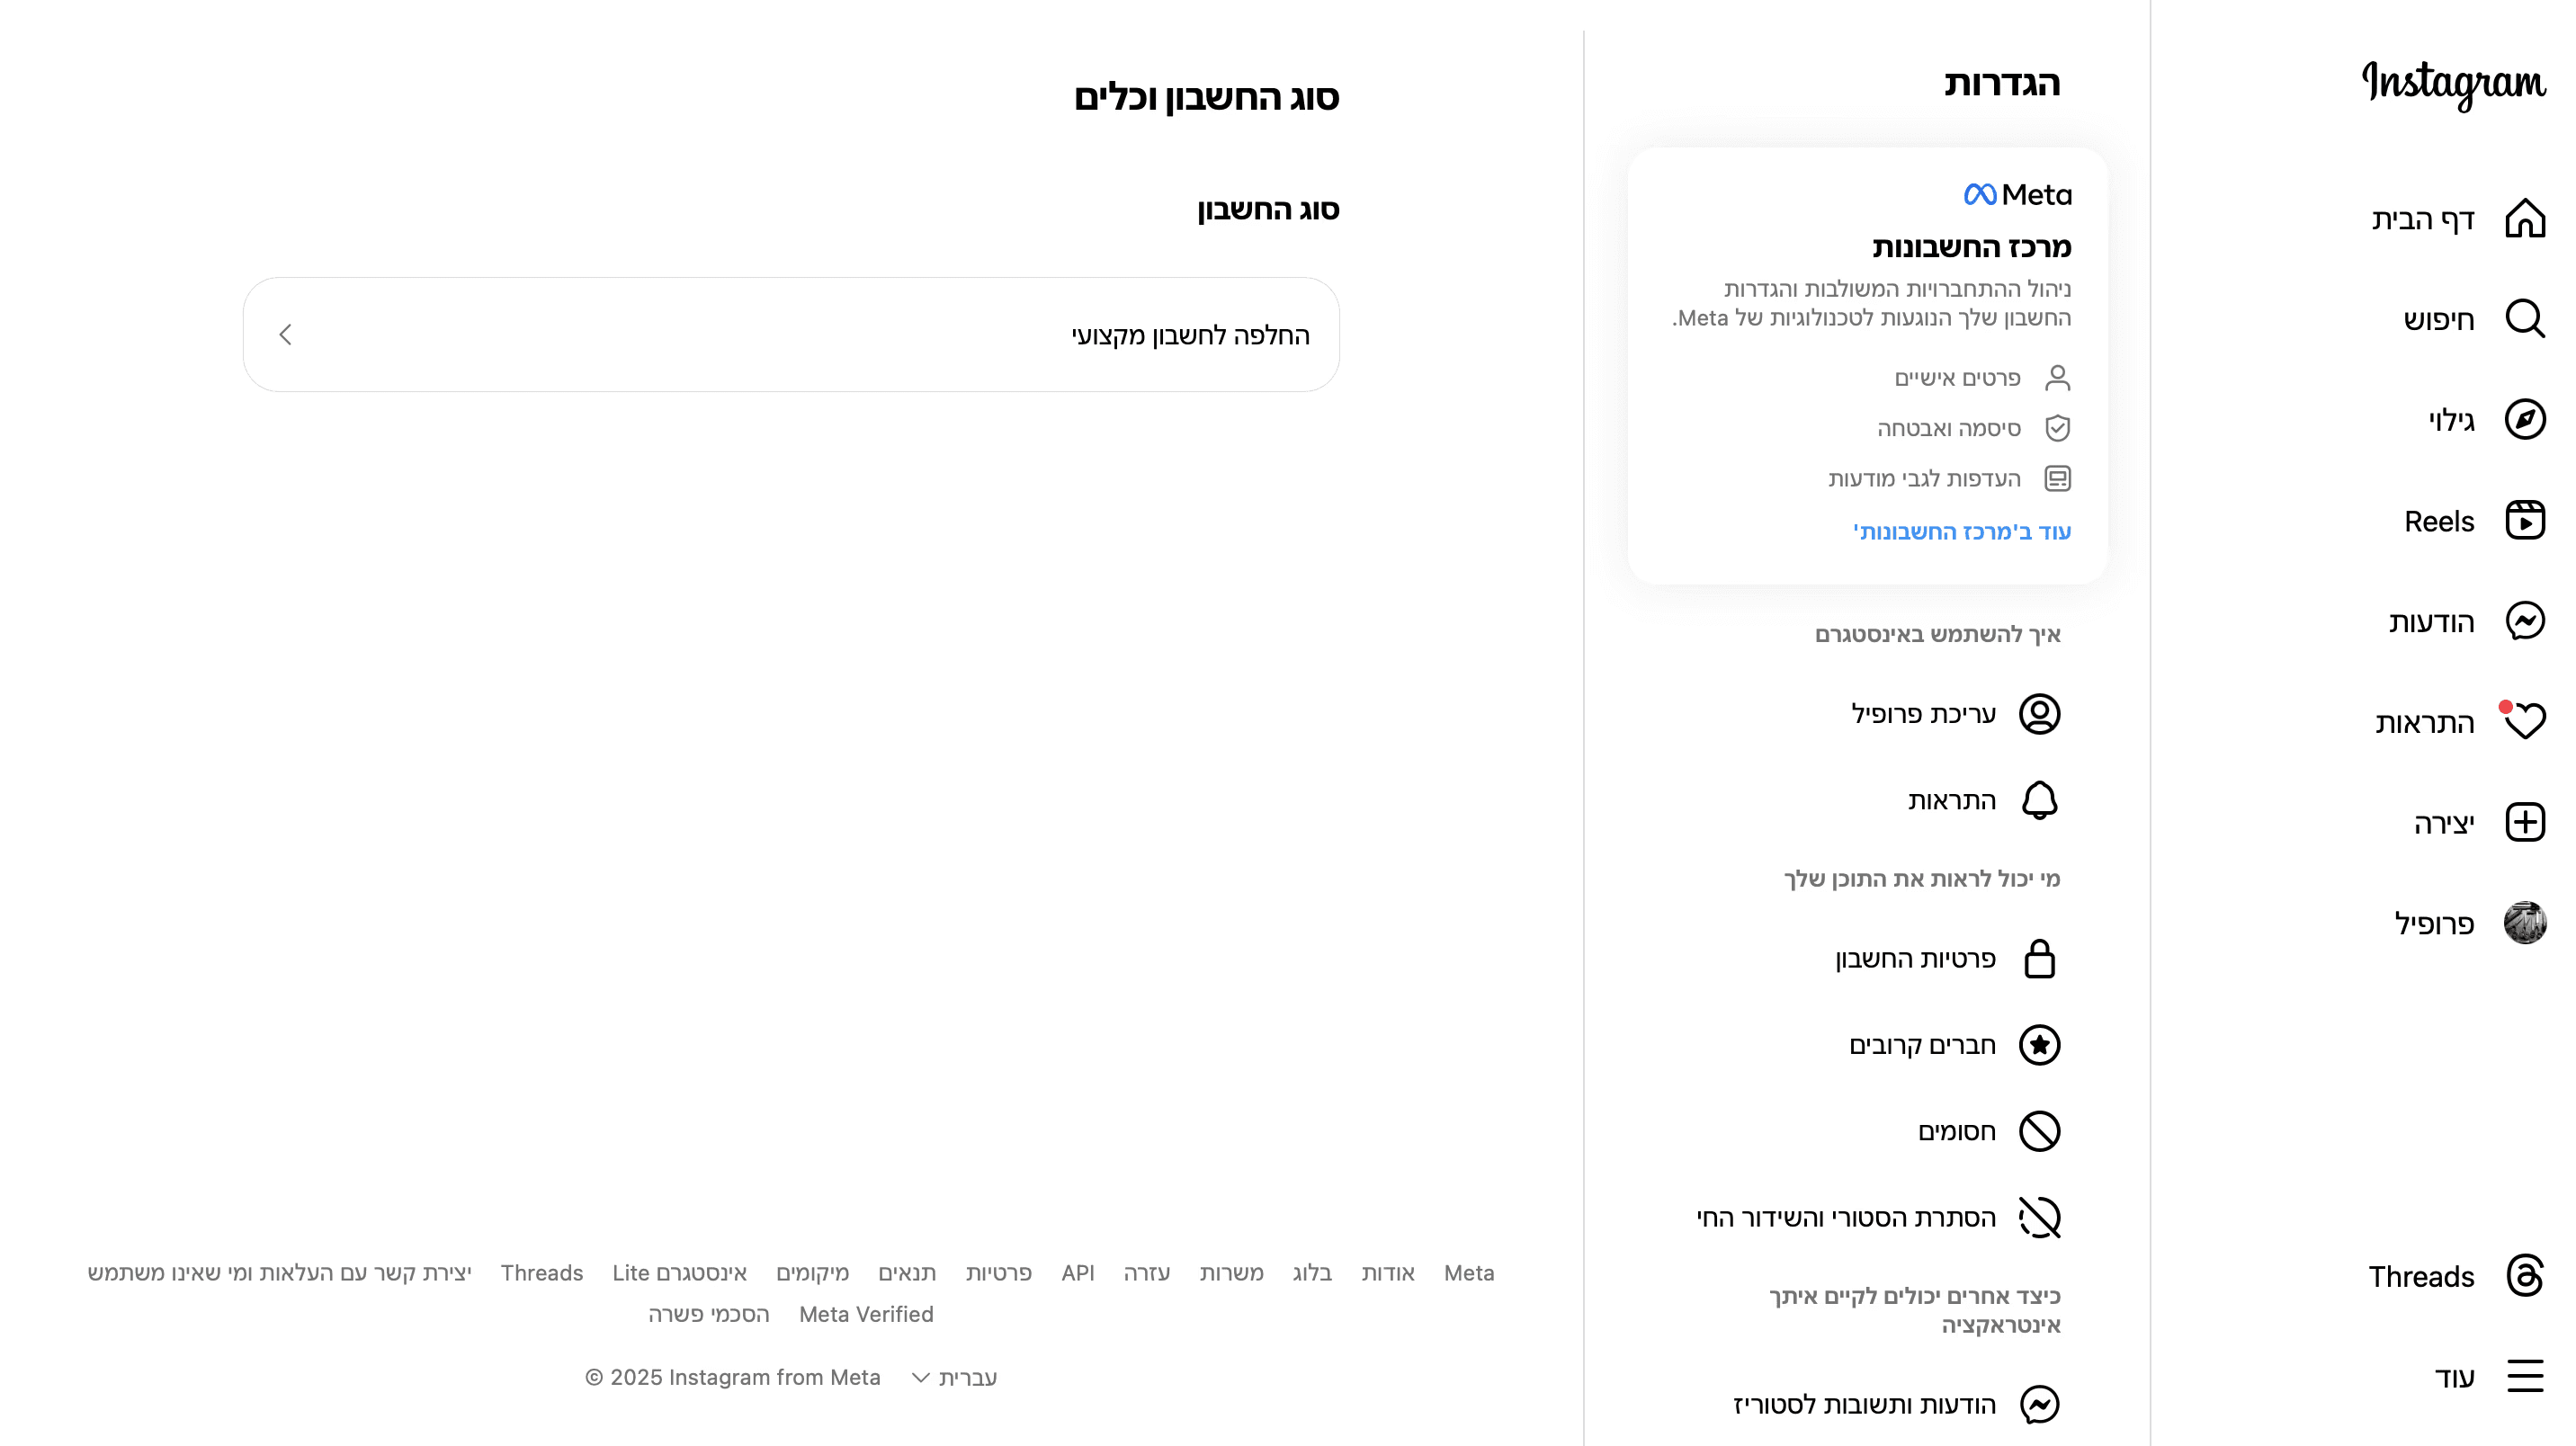
Step 5: Convert Your Instagram Account to a Business Account
Open the Instagram app and go to your profile.
Tap on ☰ and then "Settings and Privacy."
Scroll down to "Account Type & Tools."
Tap on "Switch to Professional Account."
Choose a category (e.g., Business, Content Creator) and then select "Business."
Confirm and complete the setup.
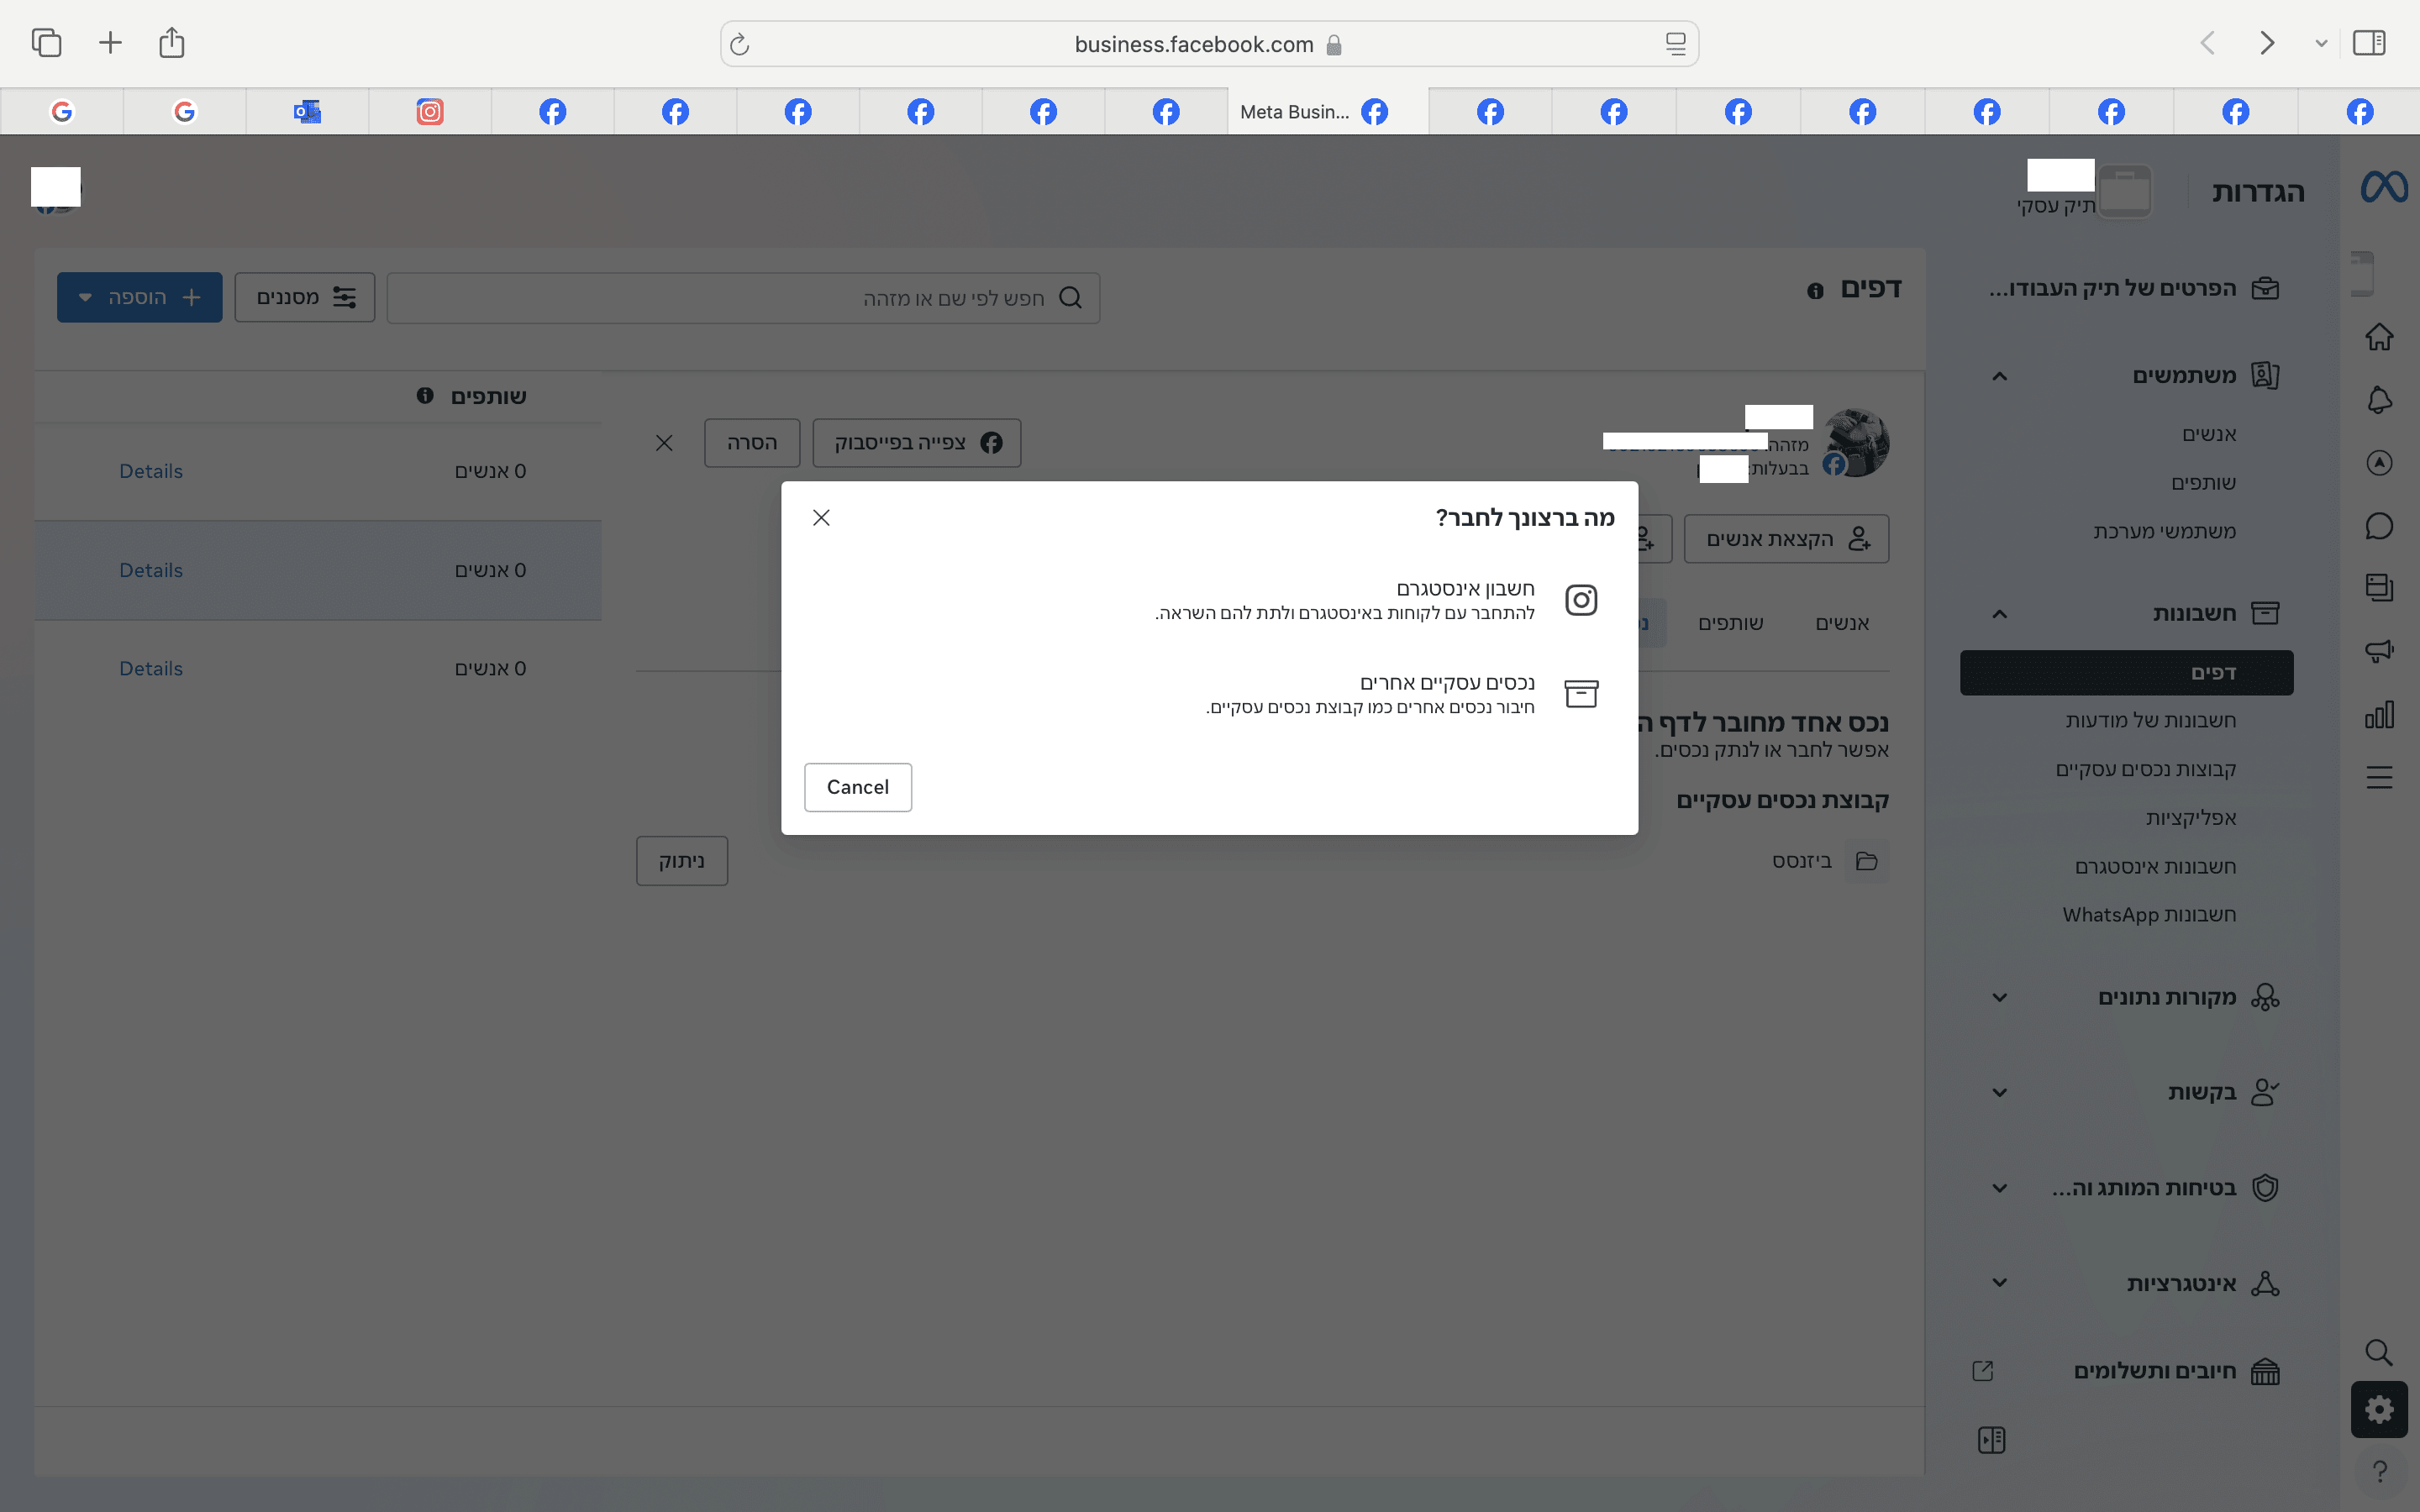
Step 6: Link Your Instagram Account (If Applicable) to Your Business Account
Open Business Settings.
In the right-hand menu, select "Accounts" > "Instagram Accounts."
Click "Add" and enter your Instagram login details.
After adding it, link the Instagram account to your Facebook Business Page.

Step 7: Connect Instagram to your facebook page
Go to your business settings.
In the left menu, select “Accounts” > “Pages”.
Click “Connect Properties” > “Instagram Account”.

✅ Completion – Stanley Is Ready to Start Working for You
Once all these steps are completed, you can share access to your assets (via our Business Manager ID) with us, and we will take care of the complete, efficient, and professional management of your activities.